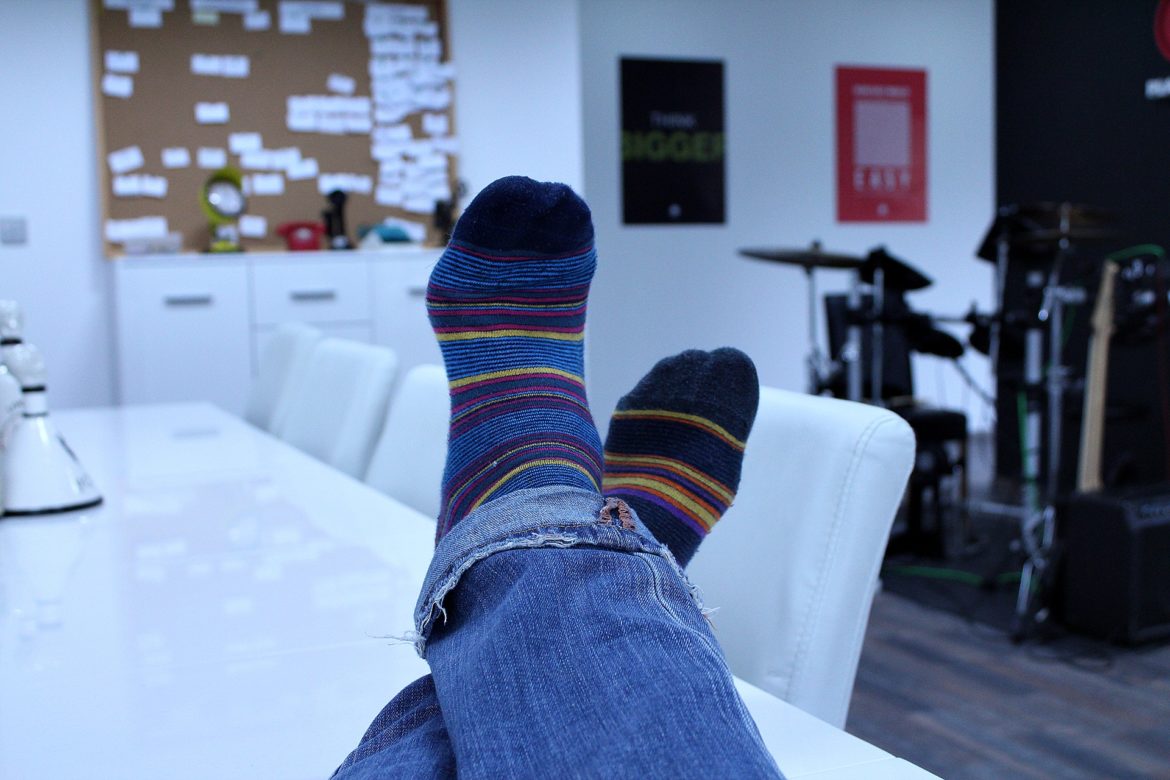
Custom socks are a great way to show your team how much you appreciate them. They can also be a fun giveaway for a special event. Socks with logos
Custom socks are a great way to show your team how much you appreciate them. They can also be a fun giveaway for a special event.
Socks with logos or designs are often made using dye sublimation. These are best for simple giveaways, high school or college clubs, and casual wear.
Knit Socks
Knitting socks is easy and fun. They’re portable, fast to knit (especially with double-pointed needles) and add a personal touch to any outfit. They can also be as elaborate or simple as you want, from a snazzy yarn print to a rough and ready workhorse pair in super-tough sock yarn.
Choosing your yarn and pattern are important when knitting socks. It’s important to choose a sock pattern that provides accurate sizing information-not just foot size but actual sock measurements. Using these measurements will help you create a sock that fits well and is durable. For a basic top-down sock, cast on 28 stitches and work 14 rounds of k1, p1 rib (or other cuff/leg stitch). This will give you a cuff that is approximately 3.5 cm/1 3/8 inches long. If you want a longer cuff, just continue knitting rib and add more rows as needed.
Print Socks
A modern technique of personalised socks printing utilises the process of dye sublimation. This involves heat-induced changes from a solid state to a gaseous state where the ink then sinks into the product’s pores and becomes an integral part of the fabric.
This is perfect for creating a range of images and designs on a range of fabrics including cotton, polyester, polypropylene and spandex. It is also suitable for using a range of colors and is perfect for a wide variety of applications, from photo socks to business logo socks.
When designing a pair of printed socks make sure the image is large enough to be legible when it is stretched on the sock. Also remember that printing will generally mute the color from the template and that it is best to use slightly brighter and more saturated colors for the most accurate results. Once the design is complete a proof will be sent for your approval.
Yarn Dyed Socks
Socks are knitted in a long rectangle called a sock blank, which is then dyed. The sock blank can be single or double stranded. This method allows the dyer to create a slow gradient or playful striping effect.
Dyeing socks can be done in a number of ways, and the resulting color can fall into two categories: solid or tonal. Solid dyes are monochrome and tonal is when the skein contains multiple shades that are blended to produce a gradual effect.
The most common way to make a dyed sock is with the speckled or spot-dyeing method. This is a simple process that produces one or more colors on the yarn.
This technique works well with self striping yarns. You will need to be careful not to mismatch your stripes, but a bit of unmatched fun adds character to the finished pair! The yarns are steamed to set the dye and can be washed in your sink, but the water needs to be very hot.
Christmas Socks
For many families, Christmas is synonymous with the tradition of hanging a stocking on the mantle. Often, these stockings are filled with small gifts such as sweets, toys or coins. They are also often adorned with a name tag, which is usually an indication of the gender of the recipient.
This year why not make your own personalised Christmas stockings? You can pick a design that is personal to you, or something that represents the family as a whole. The possibilities are endless, and the best part is that they will be a lot cheaper than buying a store-bought stocking!
Once your stocking pattern has been pinned onto both pieces of fabric, sew the lining with the right sides together. You will want to leave a 3” gap open at the top so you can turn the stocking right side out later on. Make sure to notch and clip curves where necessary. This will help the project to sew and lie flat later on.

COMMENTS